- April 19, 2020
- Posted by: janelleamacbeth@gmail.com
- Category: Quilting Workspace, Uncategorized
Things are a bit crazy right now… Would you like some distraction? A little chance to pretend, for five minutes, that life is normal?
Awesome! I do too!
I’ve been checking the “real world” at the door of my quilting studio. (Mostly.) My sewing room is for my art, for my self-care, and for me. I really applaud the people who are stepping up to make masks. I have been making them as well, but I took my bee-machine, and set it up at my kitchen table. Because, ultimately, my quilting studio is my space… and I want to protect the space where I make art, where I am creative, where I feed my artistic soul, and where I take a little break from reality. It is important for me to have a space that feels safe, supportive, pleasing, fresh, and inspirational.
So, when I was invited to participate in the Spring Clean Blog Hop, it felt like fireworks went off in my brain! Cleaning my quilting studio right now, in the middle of ‘The Great Pause’, seemed like a brilliant idea! To be honest, I wouldn’t have thought of it for myself…I was so buried in deadlines, and masks, and the new pattern I am getting ready to launch, I would not have thought to take the time to freshen up my space and make it mine again. Sometimes… we all need a little guidance and inspiration to see where our blind spots are. If you’re like me and sometimes need a little nudge, stick around… I have just the thing for you at the end of this post!
Want to see what I did to clean up my quilting studio? It involved a lot of sewing!
1.) Remove any and all distractions, clutter, and unrelated materials from your quilting studio.
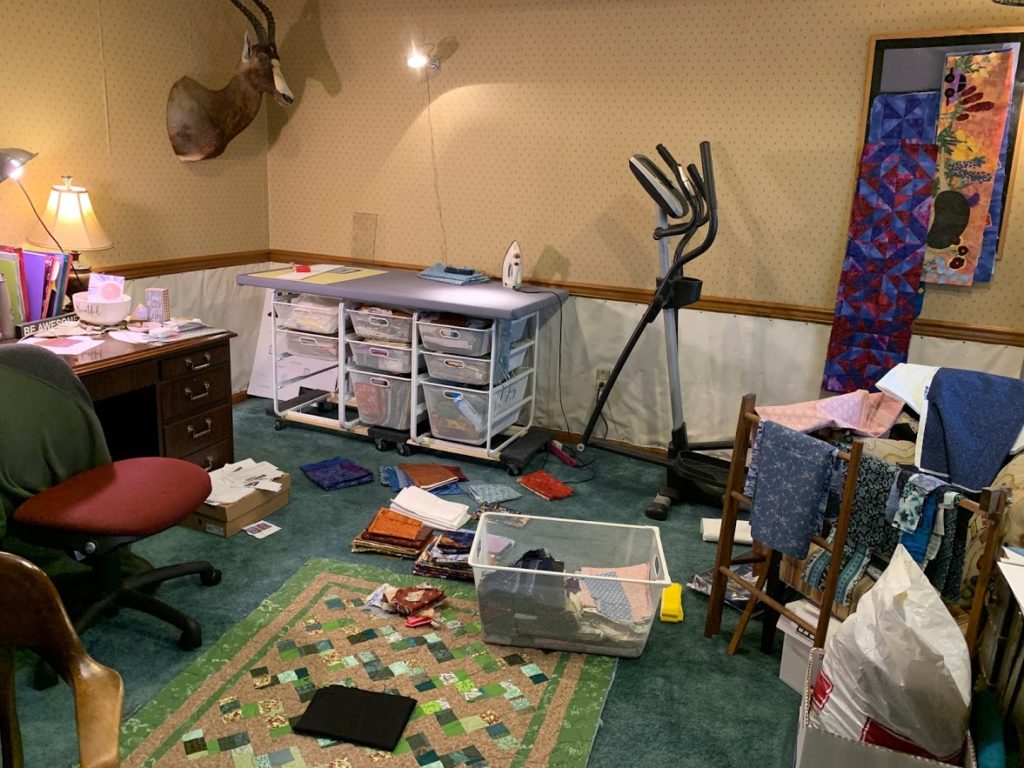
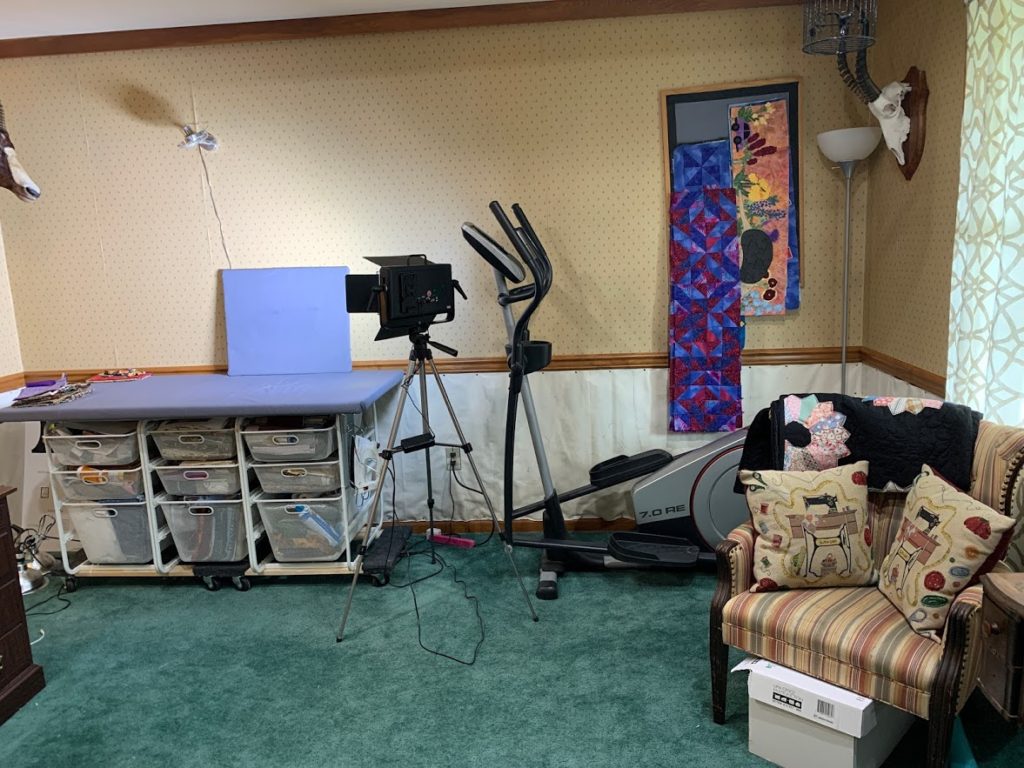
Before I moved my studio from the smallest bedroom to its current location, the room used to be the family ‘junk room,’ and it never really lost its stigma. The last vestiges of “junk room’ have continued to haunt my sewing room for nearly 3 years, and it still serves as the staging ground for thrift store donations to this day. Thrifts stores are closed due to the quarantine, so the pile was getting WAY out of hand! For my Spring Clean, the first thing I did was move the thrift store heap to one of our vehicles. (It’s not like I need my car right now, although by the time we are back to normal life, my “thrift-store-mobile” will probably only have exactly enough room for my butt!)
2.) Go through your fabric and carve up or otherwise use up any material that you’ve owned more than 5 years, or that you don’t think you’ll ever use.
Once the room was finally, truly mine, I decided that my Stash was in need of attention. My mom and her friends are forever sending me fabric (Yay! Thanks, Mom!!!), and when I don’t keep up with sorting and using the intake, it starts to pile up. (That’s really how this whole thing started and why I came up with the ScrapStashtic System.) Over the last few months, I haven’t had time to do more than shove the ‘new’ fabric into my “Annex” drawers and promise myself that I’d ‘deal with it later.’
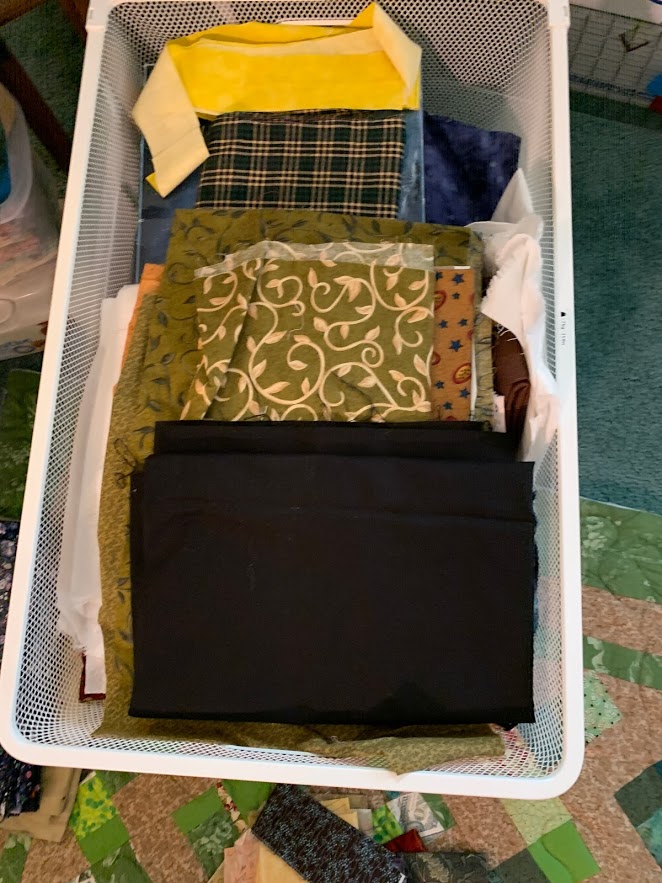
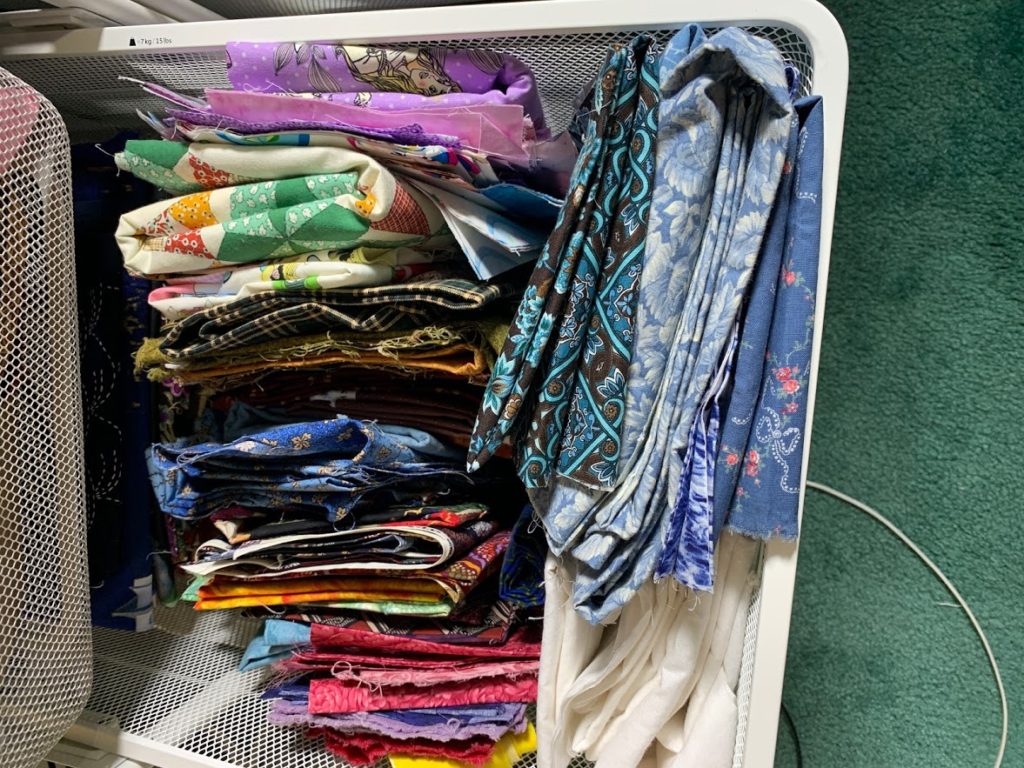
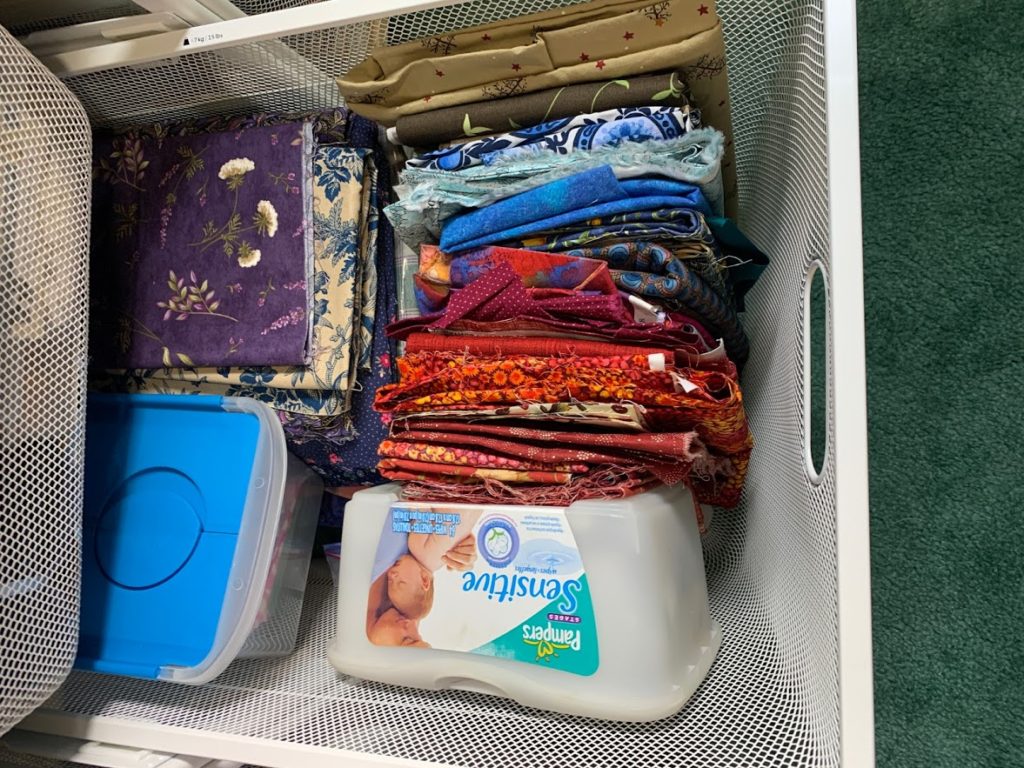
So I wheedled a friend of mine into going through my “Stash Annex” with me. The Stash Annex is the holding area where I keep my fabric that is larger than 1/8th of a yard, but is NOT claimed for a specified project. Its sole purpose is to provide me with options to add to my scrap projects, so when it gets clogged up and I no longer know what is in it, my scrap quilting productivity suffers immensely!
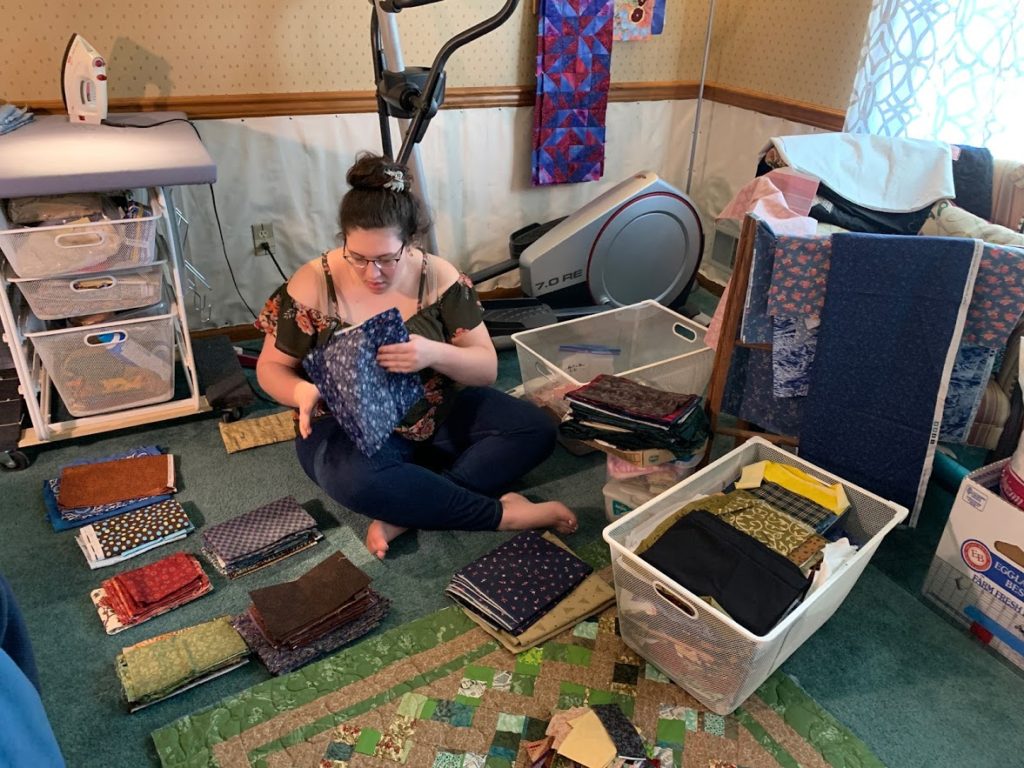
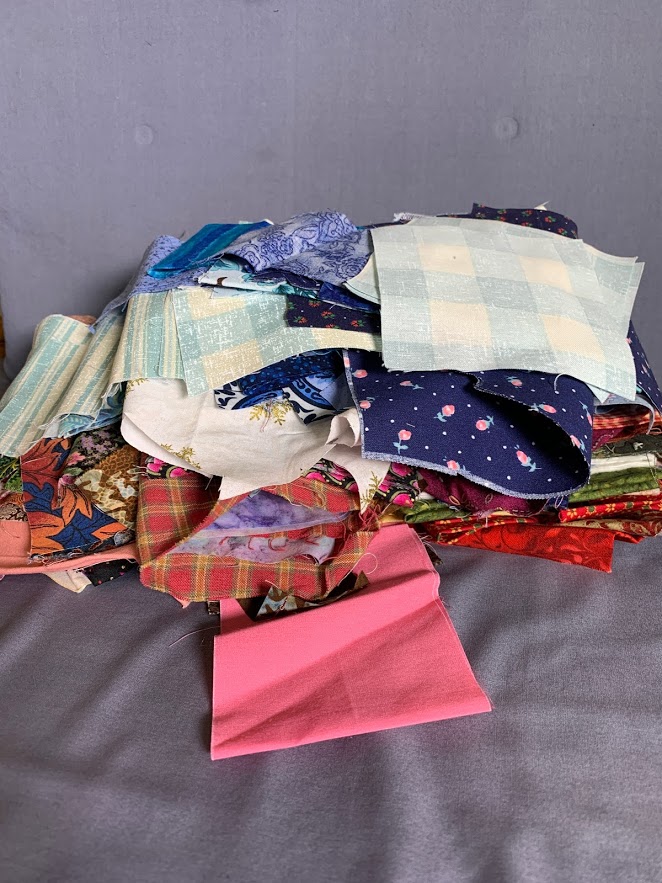
Madison quickly realized that there were a lot of scraps that weren’t big enough to qualify for the annex. She spent about an hour sorting and refolding fabric, and pulling out anything smaller than 1/8th of a yard so that I could carve it up into “precuts”.
She pulled out a LOT more scraps than I expected!
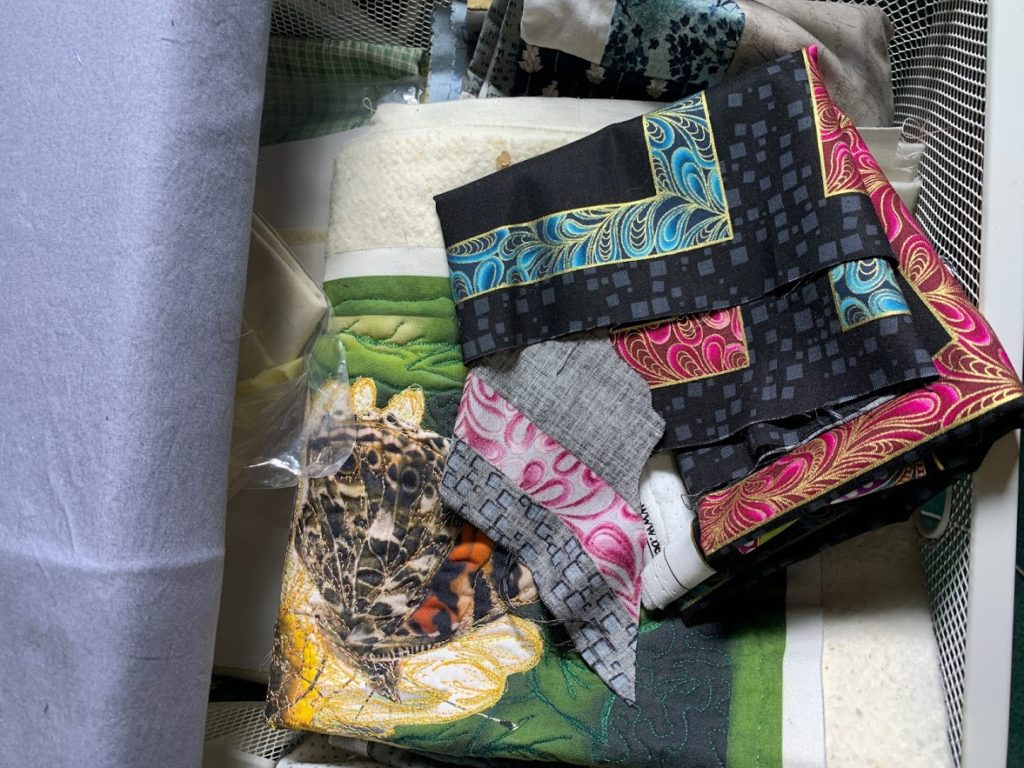
I turned some of the larger chunks into masks for friends, family, and local medical staff. I especially channeled my oriental prints into this project, as I’ve found them challenging to fit into projects, but too pretty to carve up really small.) The rest, I carved up into my ScrapStashtic Precuts.

3.) Go through your spools of thread and pull out any that are nearly empty and any that are colors you don’t have much of, or at least not enough of for a whole project.
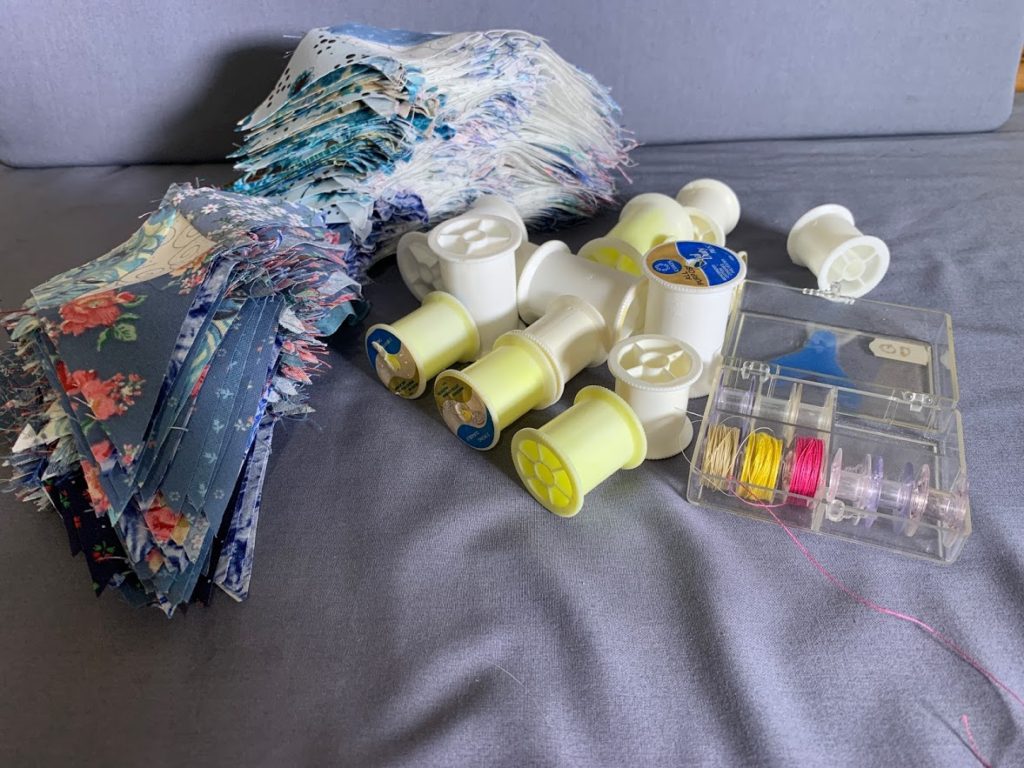
Next, I decided to empty my thread drawer… and use up my “scrap thread.” What is scrap thread? It’s any spool of thread that is nearly empty, or a color I have very little of. I pulled out a handful of scrap thread spools, and wound myself a fresh case of bobbins for my anticipated scrap project. These are the empties just from the bobbins.

4.) Clean your machine of fuzz and lint.
Your should clean your machine FAR more often than once a year. I always clean my machine when I wind bobbins- I’ve taken everything apart anyway, so I might as well execute the full task! This is made quite easy if you have the right tools. For a tutorial, click here!
5.) Funnel what you’ve just carved up into a creative project, or maybe several!
In the process of carving up my fabrics, my Schnitzel Bin (see below) and several of my precut bins were overflowing. Since I intentionally keep only one of each, this meant it was time for a few projects! First I made a few toys using the schnitzels (scraps too small to make precuts) as stuffing. Yay!! I emptied a bin!

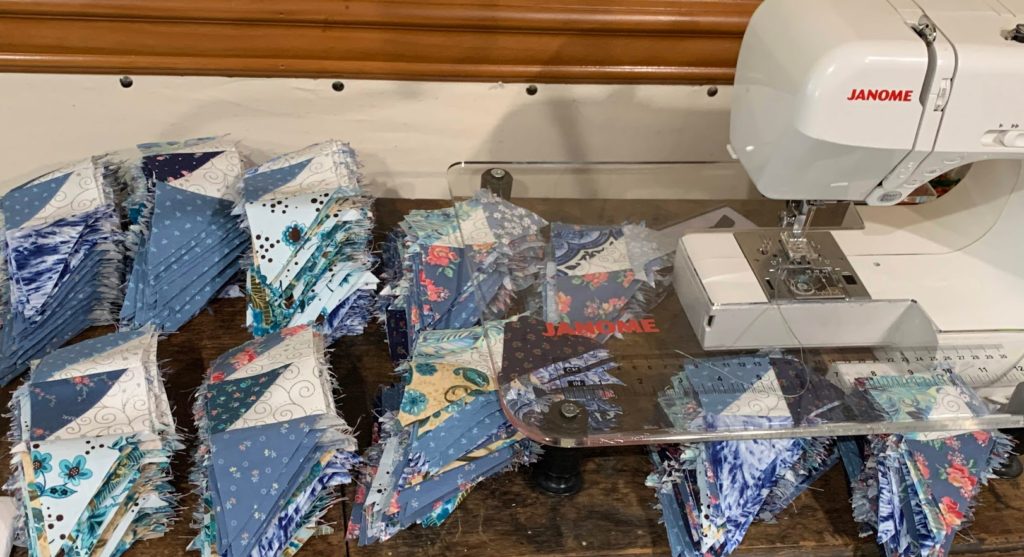
Next, I pulled out all of my blue precuts. I already knew I needed to re-make my “Coffee Quilt” for a presentation I was asked to do, so I decided to funnel my scraps into that. (That’s a long story, which I will save for another day!) Then it was pedal to the metal, and I assembled units for the Coffee quilt. I now had enough room in my scrap bins to put away all of my newly carved scraps.
Unfortunately, I haven’t finished the Coffee Quilt, yet… but here are all of the thread spools that I have finished so far on this quilt! (Note that when I was done winding bobbins with the scrap thread, the bobbin case full!!!!)
Speaking of finishing… I admit I’d rather skip discussing step 6, UFO’s.
6.) Pull out all of your UFOs (Un-Finished Objects) and decide if, and when you are going to finish them. Finish at least two of them before moving on to other projects.
I wanted to tackle some as part of this Studio Spring Clean, but I didn’t. There were simply too many to decide which one to do first, and I have deadlines to meet, and I’m missing pieces for two of them, and, and, and!!!!!
So, next week, I am inviting Professional Organizer Amara Wiley to teach a workshop on Putting the Fun Back in UFOs.
Want to join us?
You can purchase your ticket here, and finally get the motivation, tips and tactics to handle your UFOs, once and for all!!!
Click here to purchase your ticket to Put the Fun back into UFOs!

If you enjoyed this Spring Clean Blog Post, be sure to check out all the other bloggers who ALSO did a Quilting Studio Spring Clean:
April 1 – Sam Hunter – http://www.huntersdesignstudio.com
April 2 – Marian Pena – http://www.seamstobesew.com
April 3 – Jennifer Fulton – http://www.inquiringquilter.com/questions
April 4 – Martha Wolf – http://Www.pinwheelprodns.com
April 5 – Jennifer Strauser – http://www.dizzyquilter.com
April 6 – Steph Carton – http://www.theelimonster.com/blog
April 7 – Simone Fisher – http://www.simonequilts.com/blog
April 8 – Kate Colleran – http://www.seamslikeadream.com
April 9 – Carlina Moore – http://www.alwaysexpectmoore.com
April 10 – Jen Frost – http://www.faithandfabricdesign.com/blog
April 11 – Leanne Parsons – http://www.devotedquilter.com
April 12 – Becca Fenstermaker – http://www.prettypiney.com/blog
April 13 – Sarah Myers – http://www.quilted-diary.com
April 14 – Mitzi Redd – http://www.reddhomestead.com
April 15 – Jeanette Larson – http://www.Jenonthefarm.com
April 16 – Camille Ainsworth – http://www.stitchinthenw.com
April 17 – Becky Philips Jorgenson – http://www.patchworkposse.com
April 18 – Bobbie Gentili – http://www.geekybobbin.com/category/blog
April 19 – Janellea Macbeth – http://www.janelleamacbeth.com/blog/
April 20 – Lisa Ruble – http://lovetocolormyworld.blogspot.com
April 21 – Debra Davis – http://www.tuning-my-heart.com/blog
April 22 – Rona Herman – http://www.Ronatheribbiter.com
April 23 – Sue Griffiths – http://www.duckcreekmountainquilting.com
April 24 – Sarah Ruiz- http://www.saroy.net/
April 25 – Jessica Caldwell – http://www.desertbloomquilting.com/
April 26 – Tammy Silvers – http://tamarinis.typepad.com
April 27 – Ebony Love – http://www.lovebugstudios.com/blog
April 28 – Cheryl Sleboda – http://blog.muppin.com